Composting is an age-old method that stretches back to biblical eras. It’s a managed decomposition process that yields nutrient-packed fertilizer — which can cut down on garden expenses.
It’s also an easy, impactful action for the planet: the Environmental Protection Agency estimates that food scraps and yard debris make up about 30% of what’s discarded.
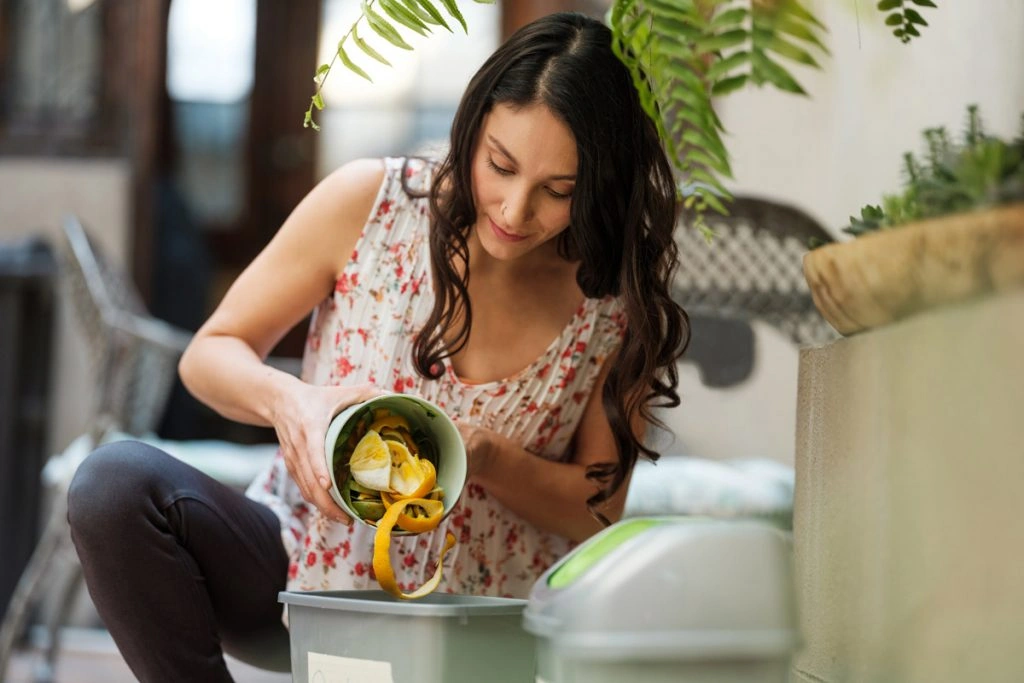
Many people build a heap in their backyard, typically beside their garden. But eco-friendly households with tiny yards — or no yard at all — can compost at home and use the resulting soil amendment for houseplants or donate it to a nearby community garden.
Materials You Can Compost
Composting relies on layering: to aid drainage, start with twigs or grass. Then, as Gena Loraine, a horticulturist at Fantastic Services, recommends, “alternate green and brown layers. Keep the balance 50-50. First add a green layer, then a brown one, and keep it damp by adding water.”
Green Layers
Green layers include fresh yard clippings and plant scraps, along with coffee grounds, tea bags, fruit and vegetable peelings, eggshells and even flat beer.
Brown Layers
Brown layers include fallen leaves and small branches, shredded paper (think of all that junk mail), egg cartons, cardboard, sawdust and wine corks.
What Not to Compost
There are a few things you should avoid putting into a compost pile: cooking grease or oils, dairy items and meat or fish scraps, bones included.
Excessive moisture can also hinder the process. Keep the pile damp with water from your hose, but if rain is expected, cover your heap or bin with a tarp. You should also frequently layer wood or carpet scraps over the compost to preserve heat and moisture.
“Right after you finish layering, the mix will begin to warm up,” Loraine said. “You can use a meat thermometer to monitor the temperature as it climbs. It should be between 49 and 77 degrees Celsius (120 to 170 degrees Fahrenheit). If it cools down, simply turn it a bit.”
In fact, turning the pile weekly with a shovel or pitchfork is essential.
“Turn the mix regularly to speed things up,” Loraine advised. “Don’t abandon your pile and wait. It can take several months to a year to fully mature.”
“You’ll know the compost is ready when it stops heating,” she adds. “It should resemble soil, smell earthy, and be dark brown.”
Setting Up a Compost Pile in Your Yard
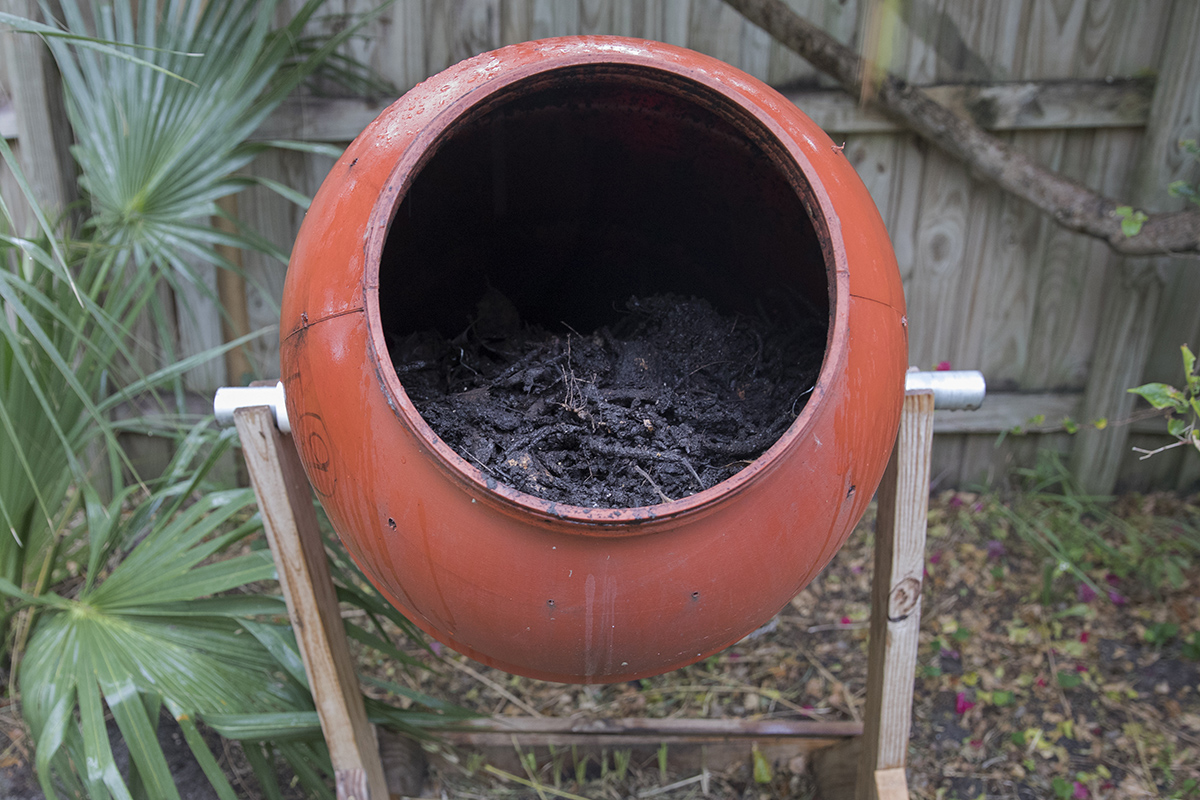
If you rent or own a house with a backyard, composting is certainly possible. You can build a pile or use a bin, but placement matters.
In the northern U.S., pick a spot that receives more sun; in southern regions, choose a shadier location. For ease, keep it near where you’ll use the finished fertilizer and where you can reach it with your garden hose.
With a small yard, Loraine suggests checking with your neighbors first.
“Make sure they’re okay with you making compost,” she said. “It may give off a faint odor; however, well-kept compost heaps don’t smell.”
If you form a pile, ensure it rests on soil so the needed organisms can migrate into it naturally. Composting on concrete will limit access for worms and other helpful creatures.
If you opt for a bin, Loraine recommends a square or conical shape. She stresses that airflow is also vital to the process.
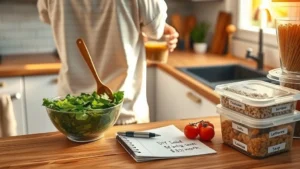
A common barrier to regular composting is convenience. When you crack an egg or brew coffee, the trash is usually right there, but you may face a long trip outside, in harsh weather, to dispose of kitchen scraps.
The fix? Keep a small compost container under your kitchen sink. Summer Rayne Oakes, founder of Homestead Brooklyn, suggests, “If you like, line it with a compostable ‘plastic’ or paper bag, and store your food waste in there. Some compost bins include a charcoal filter at the lid to prevent odors from escaping.”
Then, when the weather allows or you’re already going outdoors, simply empty the small container into your outdoor compost.

Composting Without Outdoor Space — Using Worms
Not everyone has the luxury of a big backyard. If you have a tiny yard or none at all, you can still recycle kitchen scraps through composting.
“If you live in an apartment, pick a plastic or ceramic tub. Poke holes in the lid and bottom for airflow and drainage,” Loraine said. “Before adding scraps, tear strips of paper, soak them, and line the bottom of your container. Sprinkle some soil on top, then add red wiggler worms. Your bin should be one square foot for every pound of worms. Cover the compost with damp paper strips each time you add scraps.”
If the idea of keeping worms indoors sounds odd, know that other specialists back it up.
Rayne shared a similar experience: “I don’t have a backyard, so I use a vermicomposter, which is a fancy name for ‘worm composting,’ under my sink. You can buy one or build one yourself, and it’s useful if you keep indoor or balcony plants, because although indoor worm composting is slower, it produces very rich soil additives.”
If indoor worm composting isn’t your preference for making compost tea, you can still save scraps to donate. After food waste sits a few days in your DIY bin under the sink, “you can transfer this waste to a paper bag and keep it in the freezer,” Rayne says. “That’s what I do — eventually I bring it to the farmers market for proper composting, or I drop it off with a local group that handles compost.”
Want more ways to benefit financially from composting? Check whether your municipality offers rebates or incentives for residents who compost.