So you’ve put a rip in your go-to jeans. (Or worse: your child tore a hole intheirmost-loved pair.) Don’t rush out and spend $100 on a new pair of Levi’s. Repair them — with personality. Patching, darning and stitching can transformworn garmentsinto pieces that look even better than before. This practice is known as visible mending.
How Visible Mending Can Shrink Your Clothing Expenses
Visible mending isn’t just a way to save money — it can be enjoyable. “You can begin with really basic supplies and simple stitches and create attractive, long-lasting repairs. As you keep mending you’ll feel more comfortable experimenting with mixed fabrics, trickier rips and maybe even start repairing for friends or organizing a mending meet-up,”Katrina Rodabaugh, fiber artist and author ofMake Thrift Mend,wrote in an email.
“It’s a joyful practice, and it’s a lovely metaphor for repair, caring and slowing down to focus on fixing something that’s salvageable.” The slow fashion trend can also cut your costs. The typical U.S. household spent more than $1,900 on clothing in 2022, according to aBureau of Labor Statisticsreport.
Ready to mend those holey jeans? Here’s how to begin.
1. Inspect the damage
First, examine that tear (or stubborn stain, or three-inch split). Decide if you truly want to invest the time to repair it. How severe is the damage? Is it worth the time and emotional effort? How long will the fix likely take?
“A tiny hole can be darned quickly but a sweater eaten by moths may require several hours of work,” Rodabaugh noted.
Severe damage might mean the garment should be consigned to the donation pile. Minor flaws, however, could be perfect for traditional invisible mending. There are manysimple DIY clothing fixesthat are hardly noticeable when executed well.
Weighed your options? Still keen to bring a little kintsugi to your wardrobe? Just ensure whatever caused the damage is fully addressed. Stained items should be thoroughly cleaned. Frayed tears should be trimmed and stabilized. Moth-damaged sweaters should be dry cleaned, properly dried or frozen. (Knowinghow to store winter clothesmight save you from many future repair jobs!)
2. Pick a technique
With those preliminaries handled, it’s time to get creative. Browse the #visiblemending tag on Instagram and you’ll find a stunning variety of patched pieces. On Rodabaugh’sInstagramalone, you’ll spot a blue-and-white patch on a beige sweater, sashiko repairs on different shades of denim and much more.
Don’t let the choices overwhelm you. Here are several popular visible mending methods to try.
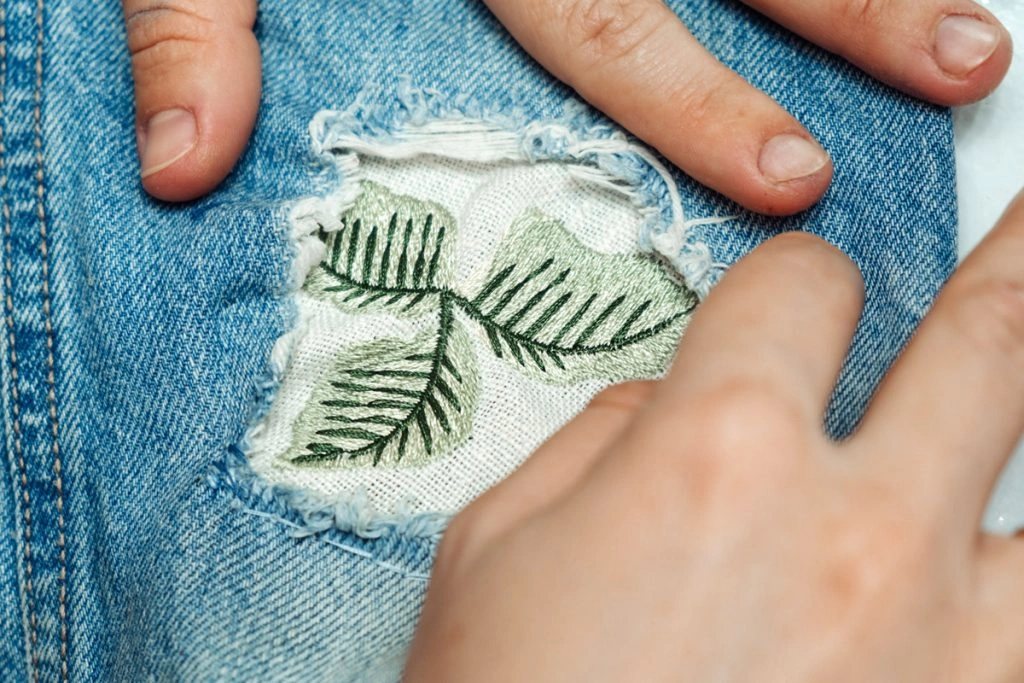
Patching
Let’s not complicate things. If the fabric has a hole, cover it with a patch.
You can boost both durability and style with sashiko mending. Sashiko, which translates to “little stabs” in Japanese, strengthens patches using visible running stitches.
To begin, you’ll want a sturdy needle, thread, straight pins, sharp scissors and, of course, fabric for patches. (Tip: this is an excellent way to use scraps from past sewing projects.) “As you advance, you might appreciate adding a fabric pencil, small ruler or measuring tape, thimble, safety pins, an iron and needle-nose pliers,” Rodabaugh recommended. Those extras improve comfort, tidiness and accuracy, which matter for more complex repairs.
Darning
Even if you’re not a craft person, you’ve likely heard of darning socks. Darning is essentially weaving new fabric where there’s been loss or thinning. It’s ideal for small rips, knit garments and yes, socks.
“If you’re darning knits without a patch, you’ll need yarn, a yarn needle and scissors to start — perhaps a darning egg if you plan to darn frequently,” Rodabaugh said.
Embroidery
If you want to add flair to your repair, try decorative embroidery. A thoughtfully placed blossom can disguise a stain or hide a patch. For best outcomes, use an embroidery needle and floss.
3. Begin your visible mending journey
Enough planning: time to actually mend. Exactly how you proceed will depend on the garment — and your creative goals — but some universal do’s and don’ts can guide you.
Doyour homework. Plenty of resources exist: books, social media accounts, online tutorials and even local craft groups can teach you how to repair clothing.
Don’tmake your patch too small. “Be sure it extends ½ – 1 inch beyond the frayed or weakened area so the patch attaches to solid, undamaged fabric,” Rodabaugh advised. That will make your repair far more robust.
Domatch materials. “Ideally, your patches, thread and yarn should correspond to the weight and fiber of the garment you’re repairing.” That means midweight denim patches for midweight denim jeans; thick yarn for chunky sweaters.
Most importantly,don’tlet all the advice intimidate you. The item is already damaged — what’s the worst that could happen? “Enjoy it! It’s only mending,” Rodabaugh said. “You can always remove stitches and redo it if you prefer.”
If visible mending becomes a passion, you don’t need to limit yourself to your own closet. Revive damaged garments and list them online for sale. For tips on turning repaired pieces into cash, see our guide onsave with car equity loanand how to sell clothing on platforms like Depop.