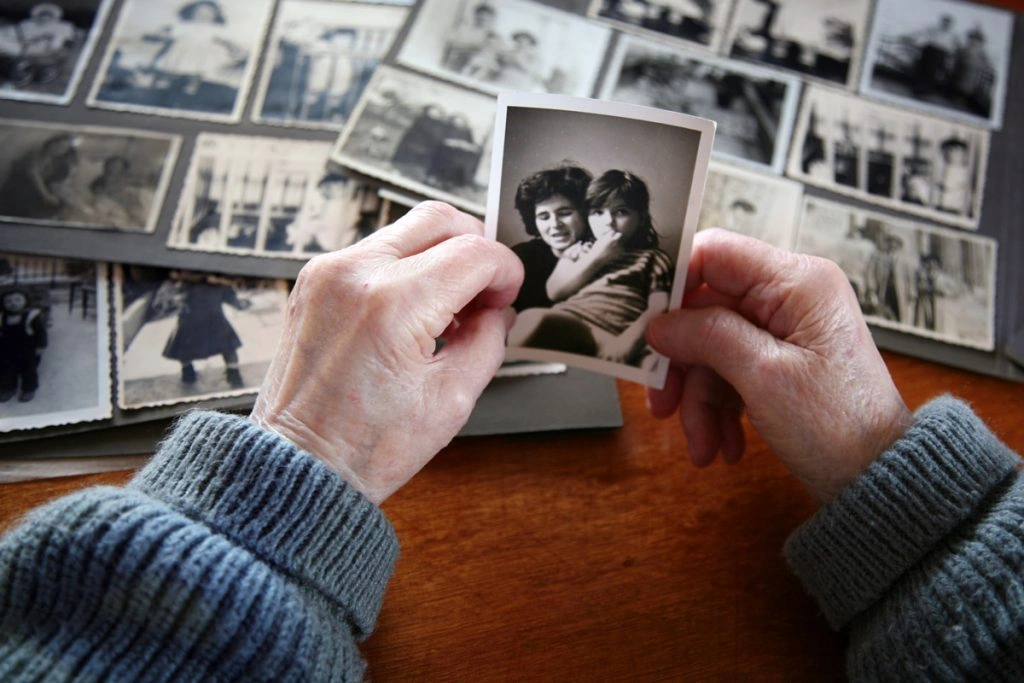
Stacks of albums, scrapbooks and shoeboxes brimming with loose prints crowd the floor and shelves of my parents’ walk-in closet. Not satisfied with that space, they’ve lately begun spilling into other areas of the house.
I can tell my mom feels swamped by the sheer quantity. She grumbles about them every time I drop by for a free meal.
She isn’t the only one. Plenty of households are battling piles of old photos taking over their living space.
The fix? Photo digitization.
Converting your old prints into digital files lets you preserve memories from earlier decades and store them in the cloud, on computers, on social media or right on your phone.
You can hire a professional service to digitize your family photos or save money by doing it yourself at home.
Benefits of Digitizing Photos
So why convert photos to digital? Here are several reasons:
- Digital copies won’t fade, bend or tear over time.
- They free up physical space in your home.
- You can easily catalog and search them on a computer.
- Software lets you restore color, remove red-eye and touch up images.
- You can quickly share favorite snapshots with relatives and friends via email and social networks.
How to Digitize Photos: DIY
Going with a professional digitizing service can be costly — and quickly. If you have decades’ worth of images, possibly including photos passed down from relatives, you might be looking at thousands of prints to digitize.
That’s why home digitization appeals to many. It requires an initial equipment investment and takes more time, but the cost savings are significant — and you don’t have to entrust strangers with priceless family memories.
What You’ll Need
Planning to digitize at home? Here’s what to have on hand:
Photo Scanner
The first item you need is a scanner. A decent flatbed scanner can be had for under $100 (for example, this popular Canon option), and it will handle most jobs.
However, if you plan to tackle thousands of prints, consider a higher-end auto-feed scanner. The Epson FastFoto FF-680W costs about $599.99 and can scan as quickly as one photo per second at 300 dpi; it supports scanning at 300, 600 and 1,200 dpi.
Cleaning Supplies
Equipment and photos can accumulate dust. For best scans, clean the scanner glass with a microfiber cloth before use. Avoid paper towels, which can leave lint or scratch the surface. Compressed air is useful for gently blowing dust off photos.
A Workspace
Sorting and scanning a large number of prints requires space. Clear a table or desk to lay out and group photos. Let household members know not to disturb your setup during scanning sessions.
Photo Editing Software
If you plan to edit and restore images after scanning, a professional program may be worth the expense. Basic tools help crop and straighten, but for color correction, red-eye removal and deeper restoration, consider software like Photoshop. Photoshop Elements is tailored for hobbyists and doesn’t require graphic design expertise.

How to Digitize Photos at Home
Follow these steps to make the digitization process organized and effective:
1. Organize Your Photos
Separate photos into two piles: those you will scan and those you’ll discard or set aside. Chances are, not every image is worth keeping.
Decide how you want to classify them: by year, event, or the people featured? Settling this now will simplify organizing once the scans are complete.
2. Decide on Storage
High-resolution images require considerable storage, so plan where your files will live.
If you have ample space on your computer, you can store them locally, but back them up to a USB stick, an external drive and/or a cloud service like Google Drive, iCloud or Dropbox. Free cloud plans include limited gigabytes; eventually you may need to pay for extra room.
3. Set Up and Clean Your Equipment
Assemble your scanner and clean the glass with a microfiber cloth before starting. If prints are dusty, gently clean them first — compressed air is ideal. Wipe the scanner bed periodically during long sessions to maintain image quality.
4. Scan Your Photos
Depending on the model, you may scan one print at a time or use an auto-feed scanner that handles multiple images. The Epson FastFoto referenced earlier can process about 36 photos in a single go.
Choose the proper settings before scanning. Consult your manual to understand options like file format, dpi and color mode.
Keep files organized by naming each scan as you go. Create a consistent naming system that makes retrieval simple. For instance, use “Name_Location” or “Event_Date.” A picture of your kids at Yellowstone from 1982 could be “Carl-and-Tina_Yellowstone_1982,” and a friend’s wedding might be “Mason-and-Erin_Wedding_1994.”
Adding metadata (details about who, what, when and where) will make searching even easier.
How to Digitize Photos: Professional Services
Hiring a photo-digitizing service is low-effort and spares you from buying equipment, but it can be expensive. You’ll also need to hand your prints to a company and hope they’re handled carefully and returned intact.
Turnaround times vary and some companies can take months to return your photos depending on volume and backlog. Shipping slowdowns caused by the pandemic have prolonged processing at major services.
If the DIY guide above seems daunting and you lack the time or inclination, a professional service may be the right choice. Below are some commonly used companies for digitizing photos.
Note: Prices are accurate as of Nov. 19, 2020. The examples assume a batch of 1,000 photos.
1. DigMyPics
DigMyPics digitizes photos, negatives, slides, APS, videotapes and 8mm film. Basic pricing begins at $0.39 per photo up to 8”x10” at 300 dpi. Upgrades to 600 or 1,200 dpi cost more — about $0.49 and $0.89 per photo, respectively.
Cost: For 1,000 photos at 600 dpi, DigMyPics would cost $490.
2. iMemories
iMemories provides a SafeShip Kit for $29.99 to protect prints in transit (this price includes FedEx shipping), or you can pack your own box and pay standard shipping. Their rate is $0.59 per photo.
Cost: For 1,000 photos at 600 dpi, iMemories would cost $590.
3. ScanMyPhotos
ScanMyPhotos scans photos, slides and negatives. Pricing starts with a $25 fee plus $0.08 per photo at 150 dpi; 300 dpi adds another $0.08 and 600 dpi adds $0.13 more.
You can also buy prepaid scanning boxes — one fits up to 1,800 standard photos and starts at $145 (72 dpi). Higher-resolution boxes are pricier: $285 for 300 dpi and $329 for 600 dpi.
Cost: For 1,000 photos at 600 dpi using their per-photo pricing, ScanMyPhotos would cost $210.
4. Scan Cafe
Scan Cafe manually scans and restores each photo. Their rate is $0.37 per photo up to 8”x10” at 600 dpi. They also digitize video, movies, negatives and slides. A USB drive option is $9.95 and a DVD set runs $11.95.
Cost: For 1,000 photos at 600 dpi, Scan Cafe would cost $370.
Smartphones: The Alternative Solution
Don’t want to pay for services or buy a scanner? Your smartphone can be a workable alternative.
The simplest method is laying prints flat and snapping close-up photos with your phone. Quality will be lower — you may capture glare, scratches and background — but you’ll have digital copies.
There are also scanning apps for phones and tablets that improve results, but they still rely on your phone’s camera and usually offer lower-quality scans than a dedicated scanner.
Take a Lesson from the Past
Digitizing photos offers many perks: protected memories, a tidier home and the ability to erase pesky red eyes.
That doesn’t mean you should abandon printed photos entirely. Once a year, pick a few favorites from your digital collection and have them printed and framed. Seeing those images on a desk or an end table will revive cherished moments, and framed photos will always help a house feel more like a home.