The holiday season is upon us. After everything we’ve endured this year, we deserve to celebrate with a little extra flair.
But honestly, after this year, who wants to drain their wallet and their energy trying to make every detail perfect?
Yep, we feel the same way.
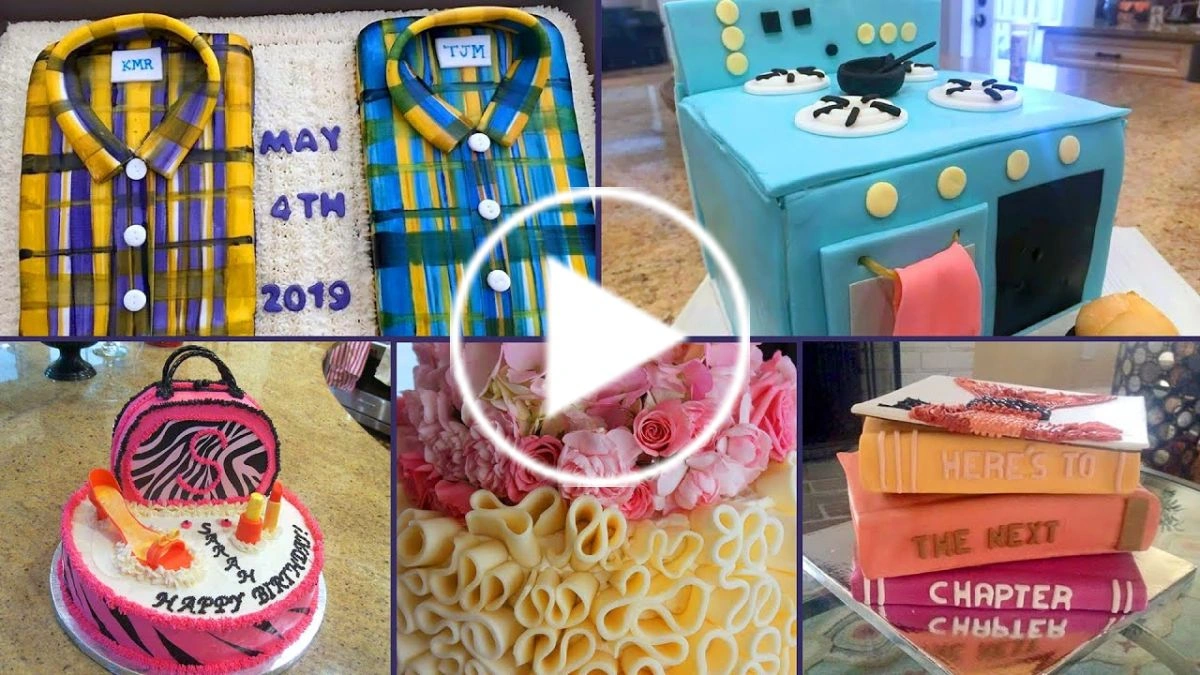
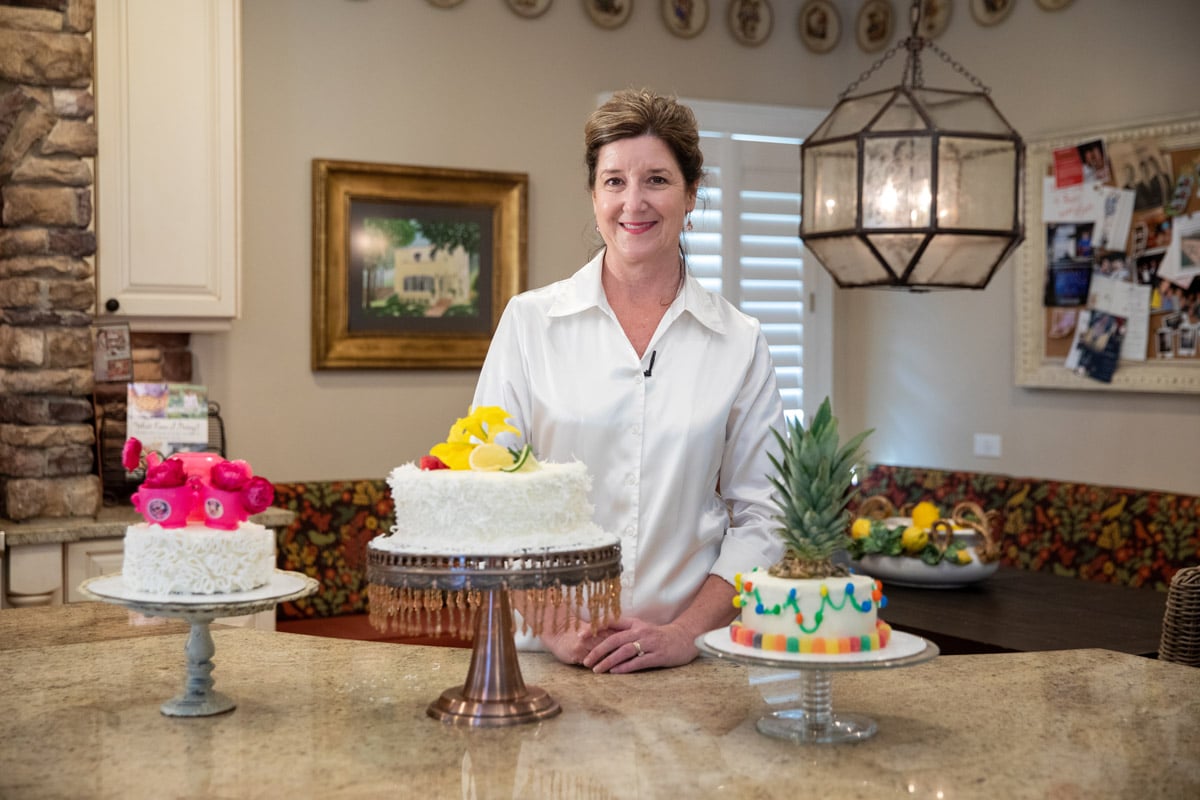
Professional cake artist Deann Coop of St. Petersburg, Florida, shared her bag of shortcuts and pointers for those of us lacking the steady hands or patience for elaborate piping. These budget-friendly decorating ideas will make your homemade cookies, cupcakes and cakes look upscale and impressive.
Prep Your Cake Properly
Use these methods to lift your cakes out of “Pinterest fail” territory and into “That looks professional!”
Prepare Your Cake Pan
To reduce cracks and sticking, coat the pan with a nonstick option before pouring in the batter. Some bakers favor sprays that include flour, which work better than plain vegetable or olive oil sprays.
But the time-honored method is equally effective and cost-saving. Rub the wrapper from the butter or margarine you used in the batter all over the pan, then add a couple tablespoons of flour. Tilt and tap the pan so the flour covers evenly.
Create Your Own Icing Tube
Rather than buying pre-made icing tubes, make your own that tastes better and costs less.
Get a metal or plastic decorating tip, cut a very small hole in a sturdy plastic freezer bag corner and insert the tip through it.
Buttercream frosting is straightforward to whip up using butter, confectioners’ sugar, milk, vanilla and food coloring. Spoon it into the bag and pipe slowly through the tip until you get comfortable.
Make a Crumb Coat
This might be the best pro trick Coop revealed. Once the cake is baked and cooled, chill it in the refrigerator for 30 minutes. This firms it up. Then apply a thin layer of frosting all over the cake—like a primer coat on a wall. If a few crumbs show through, that’s okay because this is only the initial layer. Chill another 30 minutes.
The second coat of frosting applied over the crumb coat is the visible layer. It hides imperfections and becomes very smooth.
Chill Between Steps
On the topic of chilling, “You want to chill your cake for at least 30 minutes between each step in the decorating process,” Coop recommended. “It helps everything adhere better and really reduces frustration.”
Use Cardboard Rounds
You can purchase these at craft outlets, or make your own by tracing and cutting a circle the size of your cake pan from a pizza box or other cardboard. You’ll place the cake on this as you frost it.
Decorating on a cardboard round that can be fully covered in frosting results in a neater finish than working on a plate that will likely collect icing drips. When it’s finished, transfer the cake (with the cardboard) onto the serving plate or cake stand you prefer.
Opt for Fresh Accents
You might not need to go far—your garden or the produce aisle may offer everything you need.
Fresh Flowers Make a Statement
Flowers from your yard, grocery store, florist, woods, or even thoughtfully collected from a public space can elevate any cake. “People can pipe intricate buttercream blooms, but nothing beats real flowers,” Coop said.
How to style them:
- Place only the buds in the center of a cake.
- Cover an entire cake with large, showy sunflowers.
- Drape a cascade of flowers from the top down one side.
- Make a small single-tier cake and top it with pink roses surrounded by white baby’s breath.
Fresh Fruit Is Nearly as Good
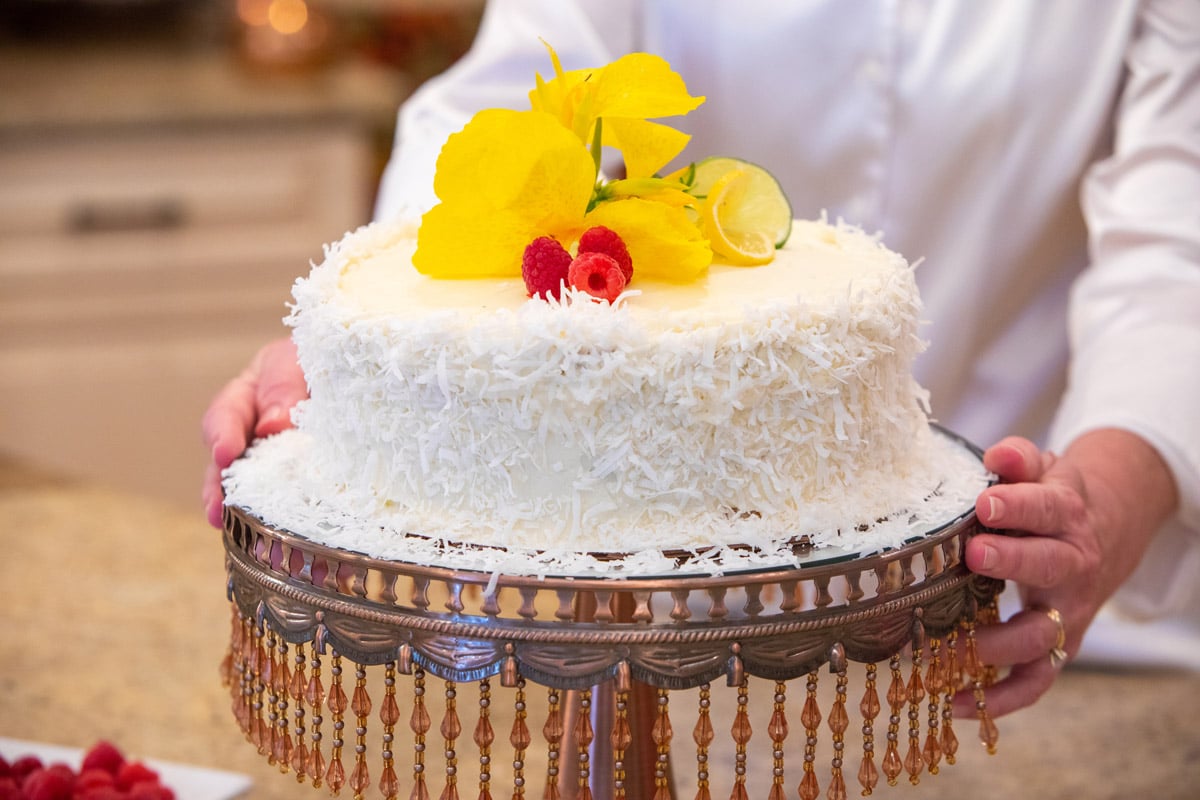
“I love making a round cake and covering the top with strawberries, even chocolate-dipped strawberries or a mix,” Coop said. “You can use other berries or grapes, but avoid bananas because they brown.”
Feeling Adventurous?
The decorating methods that seem reserved for pastry chefs aren’t as intimidating as they appear.
Don’t Fear Fondant
“If you can play with Play-Doh, you can work with fondant,” Coop said. “People are intimidated by it, but it’s actually the easiest thing.”
Follow these steps:
- Order fondant in multiple colors online or pick it up at local craft stores. It’s sold in semi-soft boxes or tubs. A 4-ounce box in various colors is about $4 at Michaels. A 5-pound tub is roughly $16 on Amazon, and comes in many colors.
- Roll it out with a rolling pin on parchment or wax paper. Use a bit of shortening to prevent sticking.
- Cut shapes with cookie cutters. (Check thrift stores and garage sales for inexpensive cutters to expand your assortment.) These shapes can decorate cookies, cupcakes, or the center of a cake.
Make 3-D Fondant Pieces
You really can do this.
Coop fashions “squiggles” from strips of fondant by curling one long strip into a series of curves, which looks elegant on birthday, shower or wedding cakes. She wraps cakes with these squiggles, and they consistently draw “aaahhhhs.”
She also sculpts fondant into lipstick tubes, high heels, fish, baseball bats and balls, video game figures, team mascots and more to personalize cakes.
If you don’t have cookie cutters, a pizza cutter works well to slice fondant into shapes.
More Budget-Friendly Decorating Ideas
Here are additional simple, inexpensive ways to boost your cake-decorating skills.
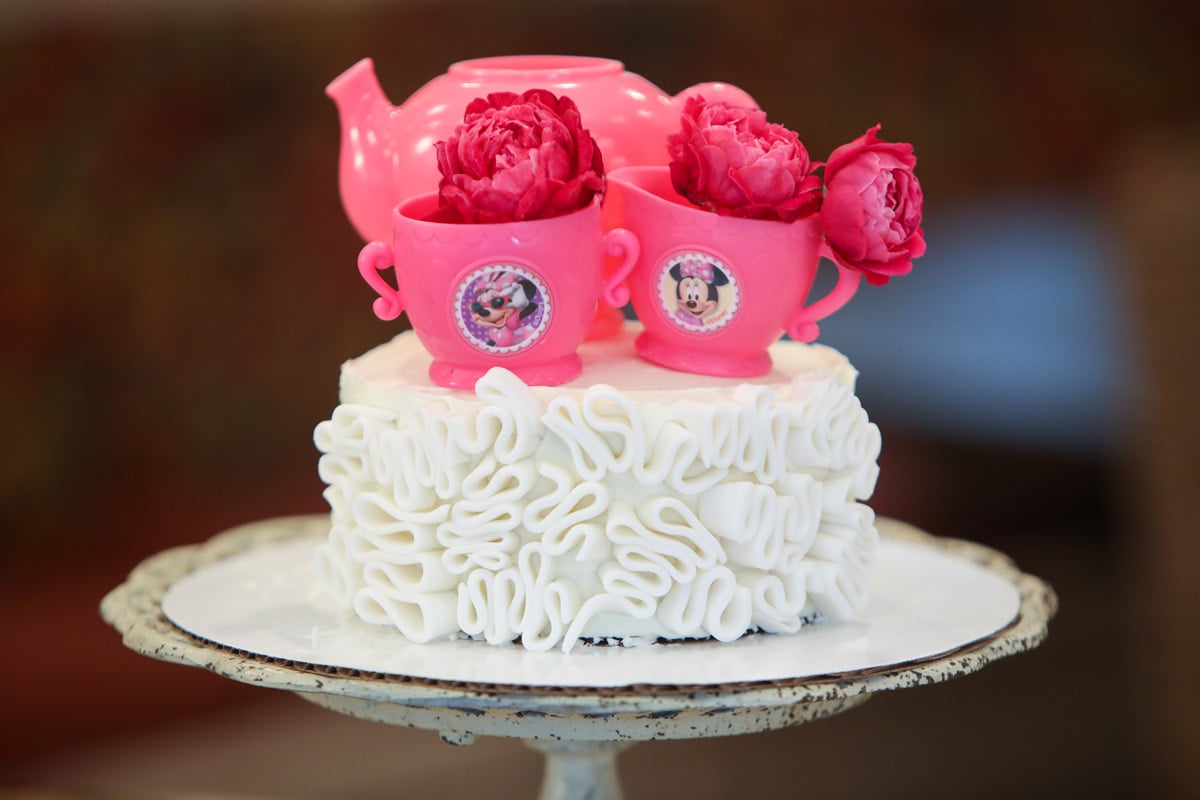
Add Toys or Everyday Objects
To simplify, Coop sometimes uses real objects rather than recreating them in fondant or icing. She once made a cake modeled after a book cover with a broken teacup — using a thrift-store teacup she smashed herself.
“One of the easiest birthday cakes is a round cake with track lines piped on and actual Matchbox cars placed on top,” she said.
“Make a tea-party cake for a little girl and add two mini teacups and saucers plus fancy cookies on a tiny plate,” she added.
Use Cookies and Candy for Decoration
Try these three sweet concepts:
- A plain white cake with $3 worth of candy canes inserted vertically on top creates a candy-cane forest look. You can also crush the canes and sprinkle them on the sides or between the upright canes.
- A chocolate cake with Oreos pressed in on their sides is a chocolate lover’s dream.
- M&M’s pushed sideways into a cake, cookie or cupcake with a thin piped line between them mimic Christmas lights.
Rachel Linton is a freelance editor and reporter in St. Petersburg, Fla., and author ofRules for the Southern Rulebreaker: Missteps & Lessons Learned.