As someone who has more PB&Js than glasses of water to his name and who appreciates a good beer or ten, the idea of quitting gluten never seemed likely. Then I met my partner, who was diagnosed with celiac disease as a teen. And wouldn’t you know it — I fell in love and had to wave goodbye to (most) gluten.
For many people, going gluten-free is more than a fad; it’s a vital lifestyle adjustment. For individuals with celiac disease, a severe autoimmune illness affecting roughly 1% of people, gluten damages the small intestine when consumed.
Continued exposure to gluten can cause those with celiac to developType 1 diabetes, multiple sclerosis, migraines, epilepsy, various cancers and more; immediate reactions include diarrhea or constipation, joint pain, vomiting, stomach pain, painful rashes and exhaustion, among other symptoms.
My partner, Alex’s, sensitivity to gluten is so extreme that he shouldn’t eat from a plate, share utensils or even use a fridge or microwave that’s been exposed to gluten.
When we moved in together, I had to eliminate gluten completely (aside from bottled beers, praise be). The toughest adjustment was getting used to gluten-free bread, which often crumbles, doesn’t taste like traditional bread and is shockingly pricey.
At Kroger, a decent half loaf (yes, many are sold as half loaves!) runs $6.49, making a full loaf a jaw-dropping $12.98. You can see how that adds up fast, particularly when you’re a 26-year-old guy whose main kitchen skill is assembling sandwiches.
Fortunately, gluten-free bread tastes better and costs far less when you bake it yourself. You can make gluten-free loaves in a conventional oven, but if you bake often, I strongly suggest buying a bread machine. We purchased our Hamilton Beach bread maker — it has a gluten-free setting — for about $45. The ingredients for the recipes below cost only $5.39 per loaf, so the machine practically pays for itself after roughly seven loaves — plus it saves a ton of time.
Alex kindly shared two gluten-free bread recipes with me, adapted from “Gluten-Free on a Shoestring” by Nicole Hunn — one designed for the oven and one for the bread machine.
Ingredients for Homemade Gluten-Free Bread
Although gluten-free baking ingredients can be somewhat costly at first, they last a long time and are useful for dozens of gluten-free recipes.
3 cups gluten-free flour: $3.00
2 ¼ teaspoons xanthan gum: $0.62
3 ¼ teaspoons active dry yeast: $0.77
¼ teaspoon cream of tartar: $0.05
2 tablespoons sugar: $0.03
2 teaspoons salt
1 ½ cups milk: $0.20
¼ cup butter, melted: $0.40
1 teaspoon apple cider vinegar: $0.01
2 large egg whites, beaten: $0.20
You can swap the first six ingredients for a gluten-free bread mix if you prefer. Oddly enough, the total cost ends up similar.
We tend to favor using a mix because it can’t be beat for flavor, texture and convenience. We buy Bob’s Red Mill Gluten-Free Homemade Wonderful Bread Mix at Kroger for $4.59, though we usually adapt it to our own method.
- Total homemade cost: $5.38
- Total cost with pre-made bread mix: $5.39
- Total cost of two store-bought half loaves: $12.98
Making Gluten-Free Bread in a Bread Machine
Your bread machine will list the recommended order for adding ingredients. Before putting the liquids (milk, egg whites, apple cider vinegar and melted butter) into the machine, whisk them together in a bowl.
Once you’ve added everything, choose the appropriate settings and presto — fresh gluten-free bread in short order.
Baking Gluten-Free Bread in the Oven
As someone who likes minimal effort, the bread machine is my go-to. Alex still enjoys channeling his inner Martha Stewart and bakes loaves in the oven. Here’s his method step-by-step:
- Thoroughly grease a 9-by-5-inch loaf pan with butter.
- In a mixing bowl, combine the dry ingredients: flour, xanthan gum, active dry yeast, cream of tartar, sugar and salt.
- Add the liquid ingredients one at a time while using your mixer’s paddle attachment on low to incorporate each addition. Make sure each element is mixed in before adding the next. The sequence isn’t critical. The final batter should be thick and cling to the bowl.
- Now for the fun part: increase the mixer to high and beat for about 5 minutes — this supposedly “activates the xanthan gum,” according to Alex. Be cautious — batter can splatter. Alex often drapes a towel over the mixer, especially when I’m operating it, to avoid a mess our dogs might attempt to sample.
- After mixing, transfer the dough to the prepared loaf pan and let it sit for roughly 30 minutes in a humid spot, or until it rises to the pan’s rim. About 20 minutes into the rise, preheat the oven to 375°F.
- Bake the loaf for 60 minutes.
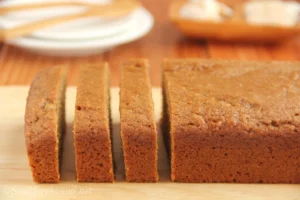
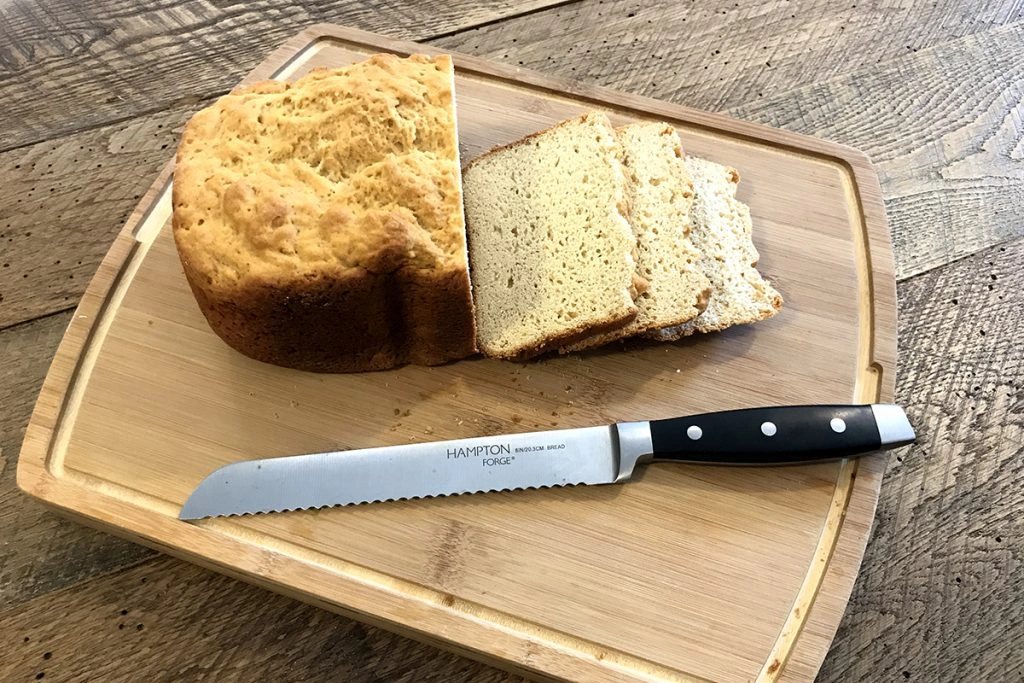
- Allow the bread to cool for about 10 minutes — or as long as you can resist — before slicing.
Gluten-free bread doesn’t need to fall apart in your hands or cost a fortune. Once you’ve nailed the basics, you can experiment with different types of loaves or enhance the recipe with honey, spices and other add-ins.
Daniel Evans adores gluten — particularly in beer form — but he cares more for his partner, so he cut most gluten from his life, beer aside. He, his partner and their two dogs currently live a gluten-free lifestyle in Nashville.