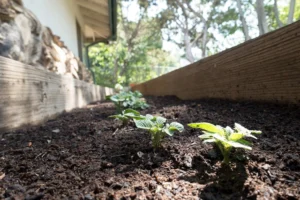
Having a plentiful garden that produces more than you can consume is a welcome dilemma.
Likewise, scoring a great CSA box loaded with vegetables or snagging organic bargains at your neighborhood farmers market feels like a small victory.
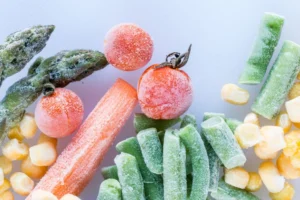
The sticking point is what to do with all that fresh produce before it spoils.
If you want to savor fruits and vegetables long after harvest, canning is a time-tested approach.
Canning is a preservation technique that converts fresh produce into shelf-stable foods you can keep for a year or longer. But it’s not something you should dive into without planning.
Canning requires time and an initial outlay, yet it can reduce food waste and help trim your grocery costs.
Supplies You’ll Need to Begin Canning
Don’t be put off by the perceived expense of canning. It doesn’t need to break the bank.
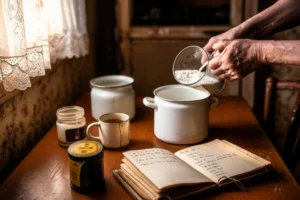
“If you’re able to grow [produce] yourself … then the only costs you have are the cost of your canning jar, the cost of your canning lid and then the band,” says Melissa K. Norris, a fifth-generation homesteader and author of “The Made From Scratch Life.”
Norris suggests novices begin with water bath canning because it doesn’t call for a lot of specialized gear. A sufficiently deep stockpot at home will work fine as long as you can cover the tops of the jars with at least an inch of water.
You’ll also want a canning rack and a lid for the pot, though there are several simple workarounds.
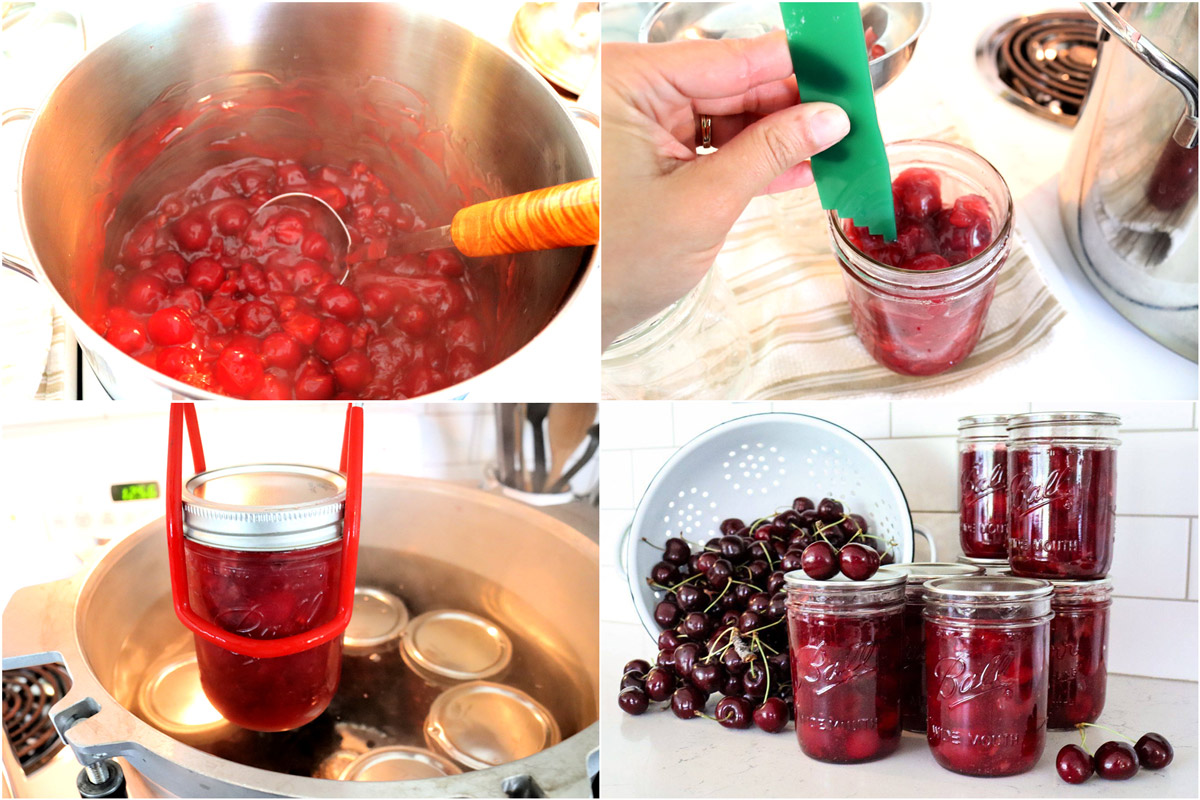
“[If] you don’t have a lid, you could use a flat cookie sheet or something that would create a lid,” Norris says.
Instead of buying a dedicated canning rack, some people place extra canning bands in the bottom of the pot or roll up a tea towel to cushion the jars, she notes. The goal is to prevent your glass jars from sitting directly on the pot’s base where they’d be exposed to direct heat.
Quick canning primer: The water bath approach is suitable for acidic foods — those with a pH of 4.6 or lower. That includes most fruits (with a few exceptions like bananas), so it’s the method to use for strawberry jam, blueberry syrup or apple pie filling. It’s also the correct choice for pickled vegetables.
“A pressure canner is what you would use to can all non-acidic foods,” Norris explains.
For preserving items like green beans, vegetable soups or smoked salmon, a pressure canner is necessary.
Pressure canners range roughly from $60 up to $400, depending on brand and capacity. Models that rely on a rubber gasket tend to be less costly; you’ll need to replace that seal periodically, though replacements are inexpensive.
The All American line — which Norris dubs “the Cadillac of pressure canners” — is pricier but uses a metal-to-metal seal, eliminating the need for rubber gaskets over time.
After you buy a pressure canner, you’ll own a sturdy kitchen tool that, with proper upkeep, can last for many years.
Treat canning jars and bands as nearly lifelong purchases since they can be reused repeatedly. Norris says they can endure for decades.
However, jar lids must be replaced each time you process a batch. Norris notes lids cost about 25 to 30 cents apiece and are sold in packs.
You can economize by acquiring used jars and bands or inheriting them from family and friends, but inspect them carefully.
“If you’re getting used jars… you want to take your finger and run it around the rim of the jar to make sure there are not any nicks that maybe you don’t physically see but you can feel,” Norris advises.
Avoid trying to can in ordinary store-bought glass containers that held salsa or jam.
“You don’t want to use those for canning because the glass for those jars is not designed for multiple uses of canning like your Ball and Kerr canning jars are,” Norris explains. “They’re made of a thicker glass and the glass in those jars are specifically made to be put into pressure canners or hot water bath canners multiple times.”
Is Canning a Money-Saver?
Once preserved, your canned goods can remain good for at least a year. You can enjoy summer peaches in winter or bake pumpkin bread in spring without paying inflated prices for out-of-season produce.
If your aim is to reduce grocery expenses, Norris says canning can definitely help — especially when you’re preserving food you grew yourself.
“If I’m growing it myself, I estimate [the cost to be] about 30 to 35 cents a jar and it’s mainly just my lid cost, because I’ve reused [my] jars so many times,” she says.
Depending on the jar size, that 30-cent homemade jar may hold twice what you’d buy on the grocery shelf for more money.
Even when purchasing fruits and vegetables, canning can be economical if you source produce at favorable prices.
Norris points out that canning also benefits those with dietary limitations, medical needs, allergies or specific tastes, since you control every ingredient. The flavor is frequently better than store-bought options.
Making and preserving your own food can take more time than buying ready-made equivalents, but Norris regards it as a rewarding pastime that feeds your household, provides a sense of pride and lowers grocery bills. Processing times vary, and it’s essential to adhere to recipes precisely — don’t improvise — because shortcuts could permit bacterial growth, she warns.
She suggests using tested recipes from reliable sources. The “Ball Blue Book” and university extension webpages are good references. Norris also posts vetted recipes on her site.
“I don’t recommend people just pulling a canning recipe from Pinterest or YouTube, because unfortunately I’ve seen a lot of unsafe canning practices there,” she says.
To extend the shelf life of canned items, store jars away from direct sunlight and protect them from significant temperature swings.
Nicole Dow is a senior writer at Savinly.